A Beginner's Guide to Self-Publishing
What do Mark Twain, Stephen King, and Jane Austen have in common? They’re all self-published authors. When you self-publish your book, you’ll be in great company.
But are you scratching your head because you have no idea how to begin? Then this is the guide for you. We’ll take you step-by-step from completed manuscript to published book. Let’s get started.
Here’s your free step-by-step self-publishing checklist. Subscribe to receive this extra checklist.
Should You Go With a Vanity Publisher?
A vanity publisher is a publishing company that you pay to publish your book whereas a traditional publisher is a company that pays you to publish your book. Is it a good idea to pay a company to print a set amount of copies of your book?
Here’s the short answer: No.
Here’s the long answer: There used to be a time when you almost had to go with a so-called vanity publisher because it was so difficult to self-publish on your own.
Fortunately, within the last decade, self-publishing has become much easier for independent authors. We can thank Amazon’s Kindle Direct Publishing for a lot of that change. Back in 2007, Amazon made it possible for authors to self-publish on its Kindle platform. While Amazon isn’t the first company to make digital books, or eBooks, possible, they did revolutionize the world of self-publishing.
So now, anyone with a dream and a manuscript can come to Amazon and publish, usually in a matter of hours. And Amazon isn’t the only self-publishing option available-- there’s Apple’s iBooks, Barnes & Noble’s Nook, and plenty of others that use a similar free model.
With a free model, you don’t pay upfront fees for publishing your book. You’ll pay from the proceeds of your sales through a royalty agreement. I love this model because it saves you from having an attic full of self-published books you’ve paid a vanity press to print and now you have to worry about selling them and recouping your invest.
Step 1: Invest in an Editor
Is there anything worse than publishing a book and finding a typo? Yep, it’s finding two typos. Don’t let typos happen to you. And watch out for haphazard storytelling, uneven plots, and forgettable characters. These can all derail your book, and cause readers to lose faith in your storytelling.
Before you publish your book, get a professional reader to give you an honest critique of your work. While you should self-edit your book, remember that there are limits to self-editing. You’re too close to the material and you will miss both glaring and subtle mistakes. Not just typos, but also characterization, plot holes, perspective changes, and tiny details that you’ve gone blind too but will annoy your reader to no end.
Your first step is to hire an editor. Here’s how to work with a professional editor.
Step 2: Format Your Book
Once your book has been polished by a professional editor, it’s time to get your manuscript formatted for the platform you’ve chosen.
You’ll need to convert your docs to another format, most likely .ePub or .mobi. An easy way to do that is with a tool called Calibre, which you can download and use for free.
Step 3: Design Your Book Cover
The cover of your book is one of the most important marketing elements you have, so it shouldn’t be an afterthought.
When it comes to designing the cover of your book, you have two options: do it yourself or pay someone else to do it. Here are pros and cons, along with resources, for each:
DIY Your Book Cover
Pros:
- It’s free
- You’re your own client-- you know exactly what you want to accomplish
Cons:
- If you’re not a good designer, your cover will look like amateurish
- It takes a lot of time to design a cover
If you’d like to DIY your book cover, check out these resources:
- How to Create a Standout Book Cover (for Beginners)
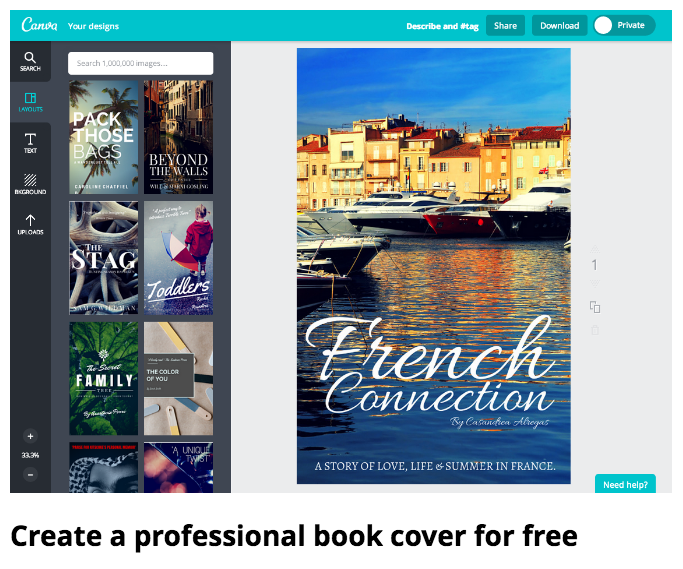
- Canva Free Book Cover Templates
- DIY Book Covers (not free, but easy to use)
- Kindlepreneur Book Cover Design

Remember to include a professional photo and bio blurb on the cover.
Hire a Book Cover Designer
Pros:
- Your cover will be done by a professional
- Your cover will likely look better than if you did it yourself
Cons:
- It’s not free
- It can be difficult to find the right designer to execute your vision
If you’d like to hire a designer, here are a few suggestions:

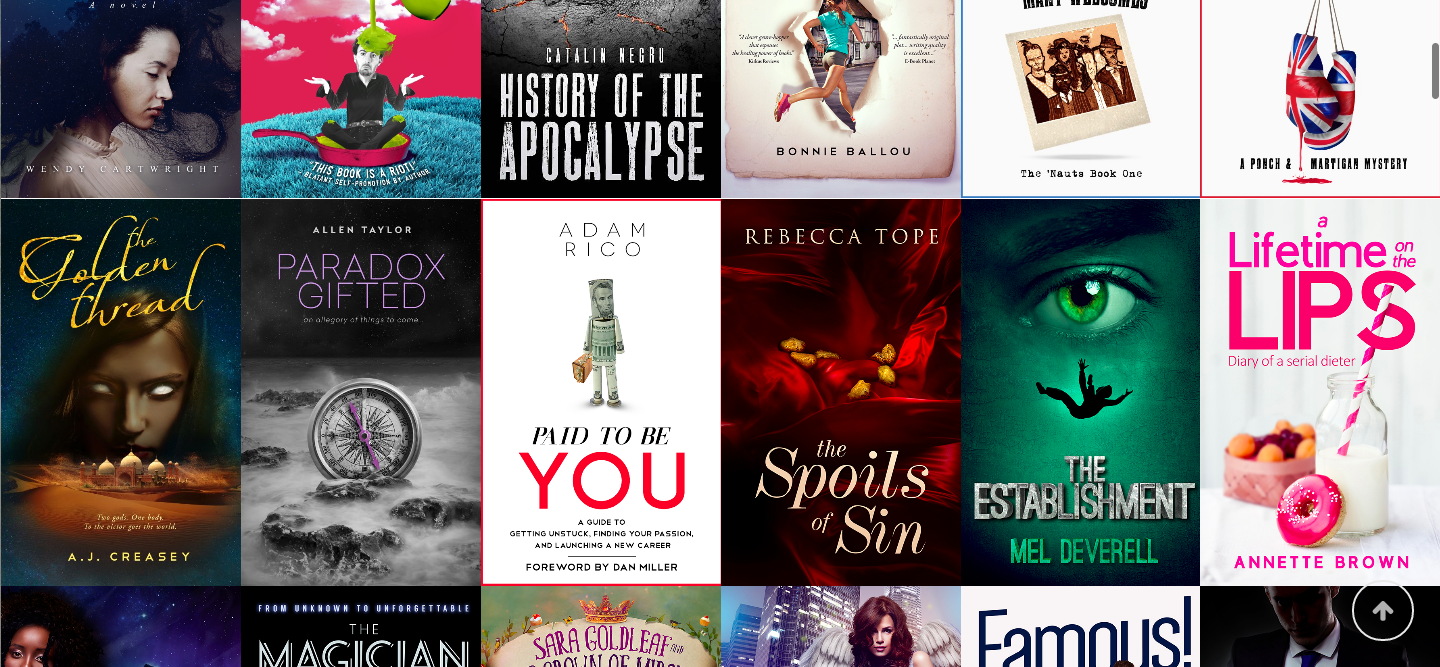
Image Courtesy of Books-Design.com
- Books-design.com
- Bookfly Design
- Robin Ludwig Design
- The Book Cover Designer
- Bespoke Book Covers
- Creativindie Covers
Step 4: Get a Copyright
Copyright your book after you have completed editing. But, don’t wait on the copyright before you publish. Confused?
Here’s the thing: as soon as your book is in printed form, it’s copyrighted. But, if you crave that extra layer of protection for your intellectual property, you also need to register your book with the US government. Otherwise, it’s hard to prove that you are the original author if someone chooses to plagiarize you.
You can register your book here. Expect to pay $35 for a single work when you register online.
Step 5: Get an ISBN
ISBN stands for International Standard Book Number. It’s a unique 13-digit number that identifies your book. As the name suggests, this number is recognized across the globe. It’s a requirement for many booksellers and libraries because it allows them to find, catalog, and order your book.
But, you may not need an ISBN when you self-publish. It depends on whether you plan to print your book or sell it exclusively online. Let’s break it down:
If you plan to print your book…
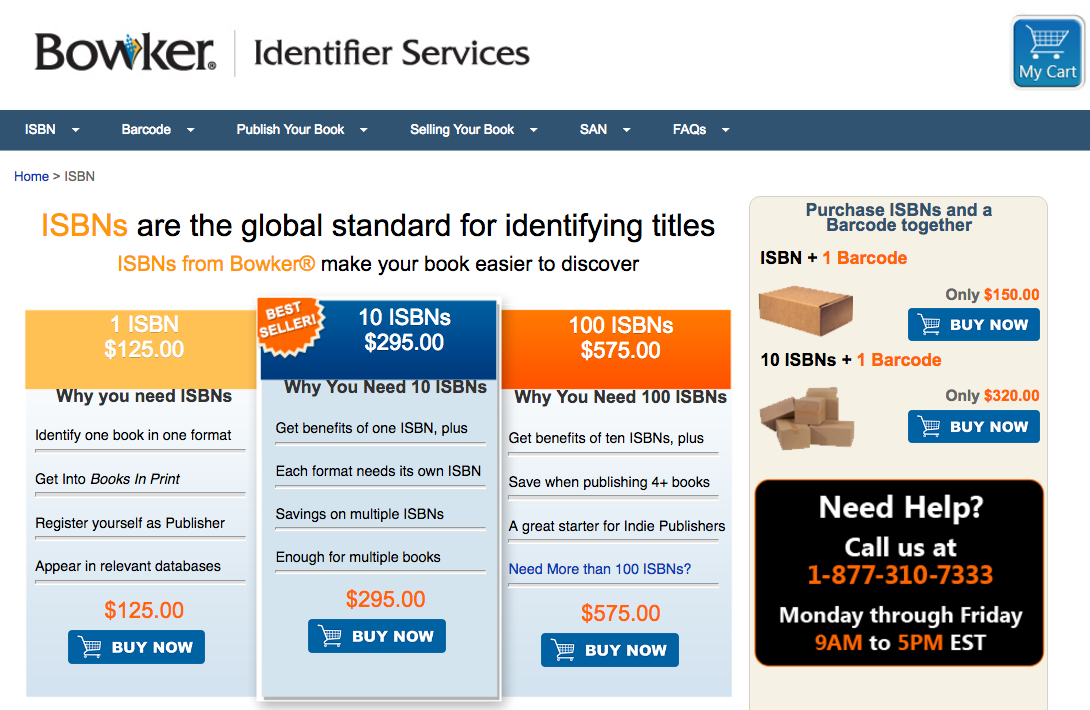
You need an ISBN. You can either buy your own or get a “free” ISBN with certain print-on-demand companies. The catch with a free ISBN is that you are not listed as the publisher, and distribution may be limited. That may not matter to you, especially when you realize that ISBNs are not cheap. For one ISBN, you’ll pay $125.
But, if the thought of being listed as a publisher appeals to you, it’s a small price to pay.
In the US, R.R. Bowker is the exclusive agent for ISBN. Get your ISBN here.

If you don’t plan to print your book…
You don’t need an ISBN. Amazon, for example, has it’s own unique numeric identifier, known as Amazon Standard Identification Number, or ASIN.
Keep in mind that the ISBN is not the same as a copyright. You’ll need to secure your copyright separately.
Step 6: Settle on a Price
Pricing is a touchy subject. Your book has cost you months, if not years, of blood, sweat, and tears, and now you’re going to charge $1.99 for it?
How can you put a price on something you’ve worked so hard to create? But price it, you must.
Let’s take a cue from Amazon, the undisputed leader in online book sales. The best pricing window on Amazon is between $2.99 to $9.99. This will give you the most profit. In this price window, you’ll keep 70% of your earnings. However, if you price less than $2.99 or more than $9.99, your profit plummets. You’ll only earn 35%.
That means you’ll only earn $7 from a $20 book, but you’ll earn $6.99 from $9.99 book. It makes sense to charge less but keep more of your earnings. Plus, your book will look a lot more attractive at a lower price point.
Also, let’s take a moment to discuss the price you should choose. There’s a lot of variance between $2.99 and $9.99. But, maybe you’ve noticed one thing: the number 9.
That’s not a coincidence. The number 9 is psychologically pleasing. Buyers are more likely to purchase a product at $6.99 than $6.00. Here’s more information on why 9 is such a powerful seller.
Finally, take a look at other, similar books in your genre. How much are these books? Because you’re appealing to the same audience, your price point should be around the same amount.
Step 7: Get Reviewed
Readers like to know that others have read and enjoyed your book. Book reviews build the social proof that will motivate a skeptical reader to pick up your book. So, before you market your book, get it reviewed.
How do you find reviewers for your book? Fortunately, there are a lot of great ways to get people to read your book:
Ask a book blogger. A book blogger is an avid reader who accepts books from indie authors and reviews them on his or her blog. A couple of things to note about book bloggers:
- Connect with book bloggers who specialize in your genre. If you’re writing sci-fi, don’t solicit a book blogger who prefers romance.
- Establish a relationship with the book blogger. Follow them on social, and interact with them before you ask them to review your book. Chances are, they’ll be sharing valuable insights about your genre and there will be plenty to talk about.
- Follow their instructions. Each book blogger will have unique instructions on how to submit your manuscript for review.
Find a book blogger using this list.
Query your writers’ community. Book bloggers aren’t the only option. If you’re a member of a writers’ community (or several), ask there, too. The more readers, the better. Here's a list of 11 top writing communities you should join.
Ask your friends and family. That’s what friends are for, right?
When you have reviews, what should you do with them? There are two options here: You can incorporate these reviews on the cover of your book as badge of social proof. Or, you can do a soft-launch of your book (where you publish it but don’t do a big launch), and ask reviewers to leave their reviews directly on Amazon, your book’s website, or whichever self-publish platform you’re using.
Guides to Self-Publish on Various Online Platforms
Here are the starter guides to self-publishing on the major online platforms.
- Getting started with Apple iTunes Connect (iBooks)
- Getting started with Amazon Kindle Direct Publishing
- Getting started with CreateSpace On-Demand Publishing
- Getting started with Barnes and Noble Nook Press
Additional Resources
Before you go, check out these additional resources for self-publishing your book:
Here’s your free step-by-step self-publishing checklist. Subscribe to receive this extra checklist.
